Food Storage and Procurement
Store canned meats‚ fruits‚ and veggies for long shelf life. Add dehydrated or freeze‑dried options‚ protein bars‚ rice‚ pasta‚ powdered milk‚ and whey protein. Keep a 3‑day water supply and purification tools. Add spares!!
Canned and Shelf-Stable Foods
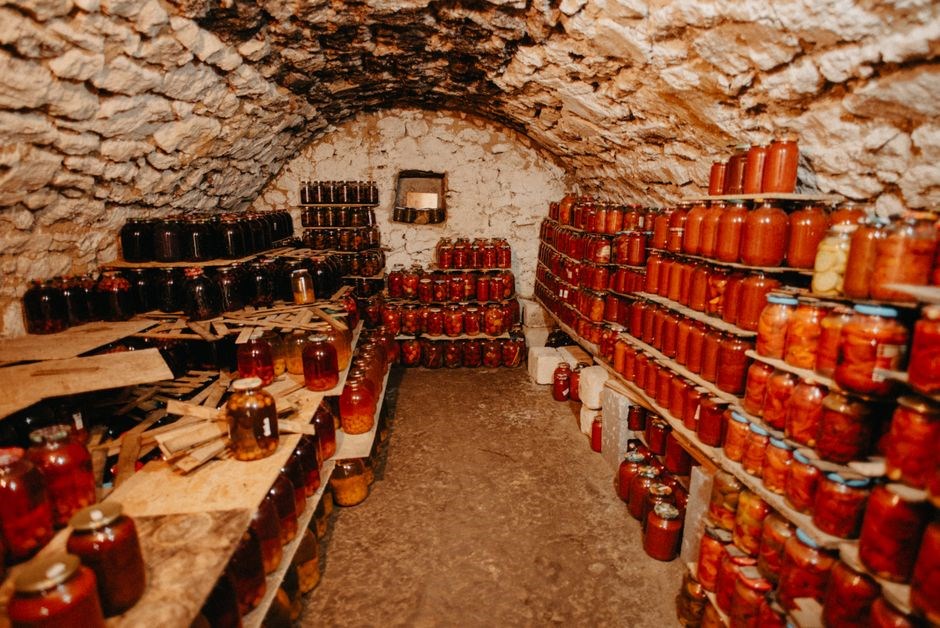
For a reliable emergency pantry‚ prioritize canned meats‚ vegetables‚ and fruit. Look for ready‑to‑eat options such as chicken‚ tuna‚ and mixed‑vegetable blends that require no cooking. Store them in a cool‚ dry place‚ rotating stock to keep the supply fresh. Include a variety of beans‚ lentils‚ and soups for added protein and fiber. Keep a small supply of shelf‑stable milk or powdered milk for dairy needs‚ and consider whey protein powder for quick nutrition. A well‑stocked pantry should also feature high‑calorie‚ ready‑to‑eat items like canned stews‚ chili‚ and pasta sauces. These items are lightweight‚ have long shelf lives‚ and can be heated with a portable stove or microwave if available. Remember to check expiration dates regularly and replace items before they expire to maintain a dependable food reserve.
Dehydrated and Freeze‑Dried Options
Dehydrated and freeze‑dried foods are staples for any prepper’s emergency kit. Their lightweight nature and minimal storage space make them ideal for long‑term supply. Popular brands such as Mountain House offer a wide range of meals—from hearty stews to comforting pasta dishes—each requiring only a few minutes of rehydration with hot water. Freeze‑dried options‚ available on Amazon and specialty outdoor retailers‚ preserve the full flavor and nutritional profile of fresh produce while eliminating moisture that can cause spoilage. For a balanced diet‚ include protein‑rich freeze‑dried meats‚ legumes‚ and nutrient‑dense vegetables. Pair these with instant rice‚ pasta‚ or quinoa packs that expand dramatically when rehydrated‚ providing bulk and calories. A small‚ insulated container or a zip‑lock bag keeps them dry and protected from pests. When planning your pantry‚ rotate stock every 12 months to maintain freshness‚ and keep a small supply of powdered milk or whey protein to supplement protein needs. By incorporating both dehydrated and freeze‑dried foods‚ you ensure a versatile‚ long‑lasting food source that requires minimal preparation and storage space. Store them in airtight containers‚ label by date‚ and keep them ready for use during emergencies.
Protein‑Rich Staples
For a prepper’s long‑term survival kit‚ protein‑dense foods are essential. Start with canned meats—chicken‚ tuna‚ or beef—each offering a shelf life of 5–10 years and no cooking required. Peanut butter is a compact source of calories and protein; a 16‑oz jar supplies 8 servings of 8 g protein each. Granola bars and trail mix provide quick energy‚ while whey protein powder offers a clean protein boost that can be mixed with water or powdered milk. Powdered milk is a versatile dairy substitute that supplies calcium‚ vitamin D‚ and 8 g protein per cup. Freeze‑dried beans‚ lentils‚ and chickpeas expand when rehydrated‚ delivering 15–20 g protein per cup cooked. Add dehydrated or freeze‑dried meats for variety. Store all items in airtight‚ moisture‑proof containers and rotate stock every 12 months. A balanced protein intake supports muscle maintenance‚ immune function‚ and overall health during prolonged emergencies.Remember to keep a small portion of protein powder or a few protein bars in a separate‚ easily accessible pouch for quick consumption during high‑energy activities or when water is scarce.!!!
Snacks and Energy Bars
When building a prepper pantry‚ compact‚ calorie‑dense snacks are indispensable. Granola bars‚ trail mix‚ and high‑protein energy bars provide quick sustenance during hikes or when cooking resources are limited. A 12‑oz bag of mixed nuts and dried fruit delivers 200–250 calories per serving‚ while a 2‑oz protein bar packs 20–25 g of protein. Peanut butter‚ stored in a sealed jar‚ offers 8 g protein per tablespoon and can be spread on crackers or mixed into oatmeal. Trail mix blends almonds‚ cashews‚ pumpkin seeds‚ raisins‚ and dark chocolate chips for a balanced mix of healthy fats‚ protein‚ and simple sugars that trigger an immediate energy spike. Energy bars such as Clif‚ PowerBar‚ or homemade bars made from dates‚ oats‚ and nuts are ideal for emergency kits because they are lightweight‚ non‑perishable‚ and require no preparation. Store snacks in airtight containers to prevent moisture and pest damage. Rotate stock every 12 months to maintain freshness. Keep a small stash of high‑calorie bars now in an easily reachable pouch for consumption or when water is scarce. Store them in cool‚ dry place.
Water Acquisition and Purification
Store large containers for water‚ use purification tablets‚ and carry a filter. Keep a 3‑day supply‚ treat water from streams‚ and store in sealed bottles. Stay hydrated! Use a UV purifier for extra safety. Stay dry!!!!
Water Storage Solutions
Choosing the right containers is critical for long‑term survival. Food‑grade polyethylene bottles‚ 5‑gal jugs‚ and collapsible silicone bags are lightweight and durable. Store water in cool‚ dark places to prevent algae growth and keep it fresh for up to a year. Use airtight lids and double‑seal with zip‑lock bags for added protection. Rotate supplies every 6‑12 months‚ replacing the oldest stock. For emergency situations‚ consider a water‑purifying system that allows you to fill a 20‑gal drum from a natural source. Keep a spare set of 1‑gal bottles for daily use; they are easy to carry and can be sealed with a screw‑on cap. Label each container with the fill date and expiration date to maintain a clear inventory. Store water in a dedicated‚ waterproof storage area‚ such as a basement or a sealed container in a shed. If space is limited‚ use stackable‚ modular containers that can be arranged in a pyramid shape to maximize storage efficiency. A small‚ portable water filter can be used to treat water on the go‚ allowing you to refill a 5‑gal jug from a stream or lake. Finally‚ keep a small‚ 1‑gal emergency water supply in your personal kit‚ so you have immediate access to clean water while you locate a permanent source. Proper storage and rotation practices ensure you always have safe drinking water‚ even in the most challenging circumstances. Keep water clean daily now!
Water Purification Methods
When survival demands clean water‚ a combination of methods ensures safety. Boiling is the simplest: bring water to a rolling boil for at least 1 minute; this kills most pathogens. Chemical tablets—chlorine or iodine—offer a quick solution; follow manufacturer instructions for dosage and contact time. Portable filters‚ such as hollow‑fiber or activated carbon units‚ remove bacteria and protozoa; they are lightweight and can be used on the move. UV purifiers provide a chemical‑free option‚ but require clear water and battery power. For extended trips‚ a solar still can concentrate rainwater‚ though yield is low. Combining filtration with chemical treatment gives the best protection against viruses‚ especially when water is visibly contaminated. Always store treated water in clean‚ sealed containers and rotate supplies regularly. Maintaining a small‚ portable purification kit—tablets‚ a filter‚ and a UV device—lets you adapt to any source while keeping health risks at bay. For optimal safety‚ always test water after treatment and keep a small sample for future reference. Additionally‚ carry a spare UV filter for backup!!.
Portable Water Filters
Portable water filters are essential for any bug‑out plan. Lightweight models‚ such as hollow‑fiber or activated‑carbon systems‚ can remove bacteria‚ protozoa‚ or sediment from streams‚ lakes‚ or even rainwater. They are easy to use: simply attach the filter to a bottle or a dedicated drinking pouch‚ squeeze or pump water through‚ and let the cartridge do the work. Many filters also include a built‑in UV or chemical cartridge for extra safety against viruses. The key advantages are speed‚ low power consumption‚ and the ability to filter large volumes quickly—ideal for hikers or families on the move. Maintenance is simple: rinse the filter after each use and replace the cartridge according to the manufacturer’s schedule. When choosing a filter‚ consider pore size (1‑3 µm for bacteria‚ <0.1 µm for protozoa)‚ flow rate‚ and durability. Pair the filter with a small‚ collapsible water container to keep treated water fresh. In a crisis‚ a reliable portable filter can mean the difference between hydration and illness‚ making it a top priority for any prepper’s kit. Keep filters clean by rinsing with fresh water before use‚store them.
First Aid and Medical Preparedness
Pack a first aid kit with bandages‚ antiseptic wipes‚ gauze‚ tape‚ scissors‚ tweezers‚ pain relievers‚ and personal meds. Keep extra supplies‚ a flashlight‚ and a portable charger for emergencies. Also a small manual. Now. Keep!!
Basic First Aid Kit

For immediate care‚ assemble a compact kit with essential items: 2‑inch gauze pads‚ adhesive bandages‚ elastic bandage for sprains‚ sterile wipes‚ antibiotic ointment‚ and a small bottle of pain relievers such as ibuprofen or acetaminophen. Include a pair of tweezers‚ a pair of scissors‚ and a small‚ sharp knife for cutting clothing or gauze. Add a disposable syringe or a small vial for applying topical medication. A small flashlight or headlamp with extra batteries ensures visibility in low light. Keep a small‚ waterproof container for the kit to protect contents from moisture. A basic first aid manual or a printed guide with step‑by‑step instructions for common injuries and medical emergencies is invaluable. Store the kit in a durable‚ easily accessible pouch or bag that can be carried in a backpack or attached to a belt. Regularly inspect the kit‚ replace expired items‚ and add any personal medications or allergy treatments as needed. This foundation equips you to manage cuts‚ scrapes‚ burns‚ sprains‚ and other minor injuries until professional help arrives. Add a whistle and a flashlight and a candle!!
Personal Medications and Advanced Care
Maintain a dedicated medication pouch with all prescription drugs‚ dosage instructions‚ and expiration dates. Include a daily antihypertensive‚ a bronchodilator inhaler‚ and a rescue inhaler for asthma. Add a full course of antibiotics (e.g.‚ amoxicillin 500 mg) and an anti‑inflammatory (naproxen 500 mg). Store a supply of insulin with syringes‚ a glucometer‚ and test strips for diabetic patients. Keep a small vial of epinephrine auto‑injectors for severe allergic reactions and a set of antihistamines (diphenhydramine 25 mg). For chronic conditions‚ pack a portable nebulizer‚ a blood pressure cuff‚ and a pulse oximeter. Include a basic wound care kit: sterile gauze‚ adhesive tape‚ and a small bottle of antiseptic. Keep a copy of all prescriptions in a waterproof folder and a digital backup on a secure cloud account. Rotate medications every six months and replace expired items. Add a small‚ insulated cooler bag to keep temperature‑sensitive drugs stable during transport. Always carry a medical ID bracelet and a list of allergies. Add a whistle and a flashlight and a candle!! Carry a portable nebulizer with a backup battery‚ a small first‑aid manual‚ and a set of emergency medication kits for severe infections. Ensure you have a spare supply of vitamins‚ electrolytes‚ and a small‚ portable blood pressure monitor to manage dehydration and low blood pressure. Pack a small‚ portable first‑aid kit with antiseptic wipes‚ sterile gauze‚ and a small bottle of pain relievers for quick treatment. Store a small‚ insulated cooler bag to keep temperature‑sensitive drugs stable during transport. Keep a spare supply of vitamins‚ electrolytes‚ and a small‚ portable blood pressure monitor to manage dehydration and low blood pressure. Include a small‚ battery‑powered flashlight‚ a whistle‚ and a portable radio for emergency communication.
Shelter‚ Shelter Build and Comfort
Use lightweight tents‚ tarps‚ and emergency blankets. Pack sleeping bags and thermal pads. Keep a firestarter‚ waterproof tarp‚ and sturdy rope for shelter now Stay warm and dry!
Tents‚ Tarps and Temporary Shelters
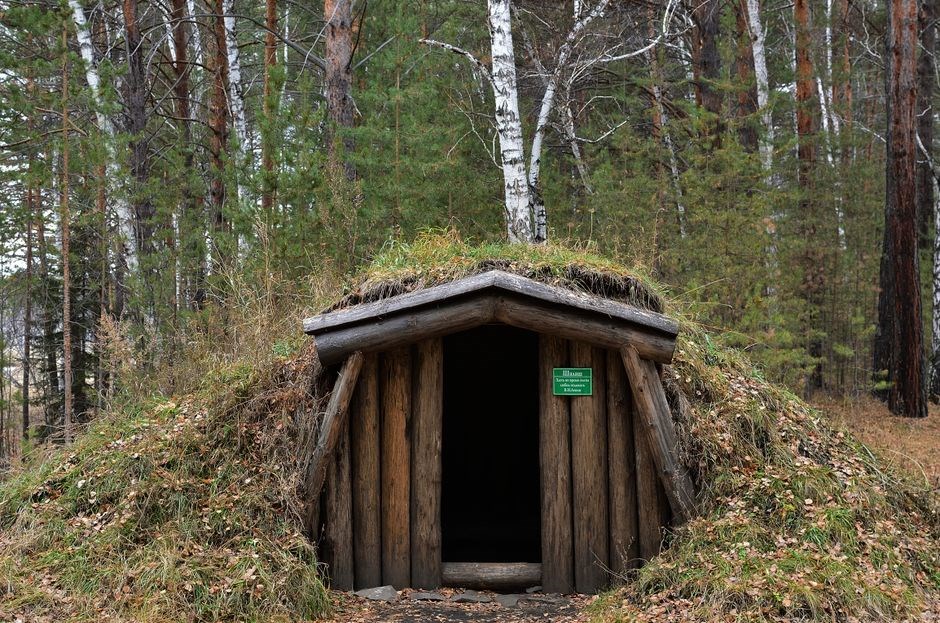
Choose a 3‑to‑5‑person canvas or ultralight dome tent rated for 3‑month weather. Keep a 10‑sq‑ft tarp for rain or windbreaks. Pack a 2‑layer emergency blanket and a thermal pad for sleeping. Use a firestarter kit‚ waterproof matches‚ and a small stove for heat. Store a sturdy rope and duct tape for quick repairs. Set up a wind‑tolerant frame with stakes and a tarp over the tent for extra protection. Keep the shelter in a low‑lying‚ shaded spot to reduce heat loss. Use a reflective tarp to deflect heat at night. Store all gear in a waterproof bag and keep it close to the shelter for rapid deployment.
When weather turns harsh‚ a tarp‑based windbreak or canvas wall shields against rain. A lightweight polyethylene sheet draped over the tent adds a secondary roof. Use a small stove with a fuel canister for cooking and heat‚ pack a firestarter kit‚ waterproof matches‚ a wind‑proof lighter. Always have a spare rope duct tape for quick repairs. Store all gear in a waterproof bag and keep it close to the shelter for rapid deployment.
Sleeping Gear and Thermal Comfort
Choose a high‑rating‚ 3‑season sleeping bag rated to at least –20°F for cold nights. Pair it with a 1‑layer‚ 2‑layer or 3‑layer sleeping pad that provides insulation and shock absorption. A foam pad is lightweight‚ while an inflatable pad offers higher R‑value and is easier to pack. Add a thermal blanket or emergency bivy for extra warmth during power outages or when the bag is compromised. Layering is key: a moisture‑wicking base layer‚ a mid‑layer fleece or down jacket‚ and a wind‑proof outer shell protect against sweat‚ wind chill‚ and rain. Keep a small‚ insulated water bottle to stay hydrated and a compact‚ high‑efficiency stove for hot drinks. Store all gear in a waterproof‚ breathable bag to keep it dry and ready for rapid deployment. When setting up‚ position the sleeping bag on flat‚ insulated surface and cover it with a tarp or windbreak to reduce heat loss. Use a reflective‚ heat‑retaining blanket over the sleeping bag at night to trap body heat. Regularly check the pad’s integrity and replace any damaged sections to maintain optimal thermal performance. This setup ensures you stay warm‚ dry‚ and comfortable.
Survival Tools and Miscellaneous Essentials
Pack a multi‑tool‚ Swiss‑army knife‚ and cutting blades. Carry a flashlight‚ extra batteries‚ a power bank‚ and a whistle. Keep duct tape‚ rope‚ emergency blankets‚ ponchos‚ and cash in a waterproof bag for quick access.!!!
Multi-Tools and Cutting Instruments
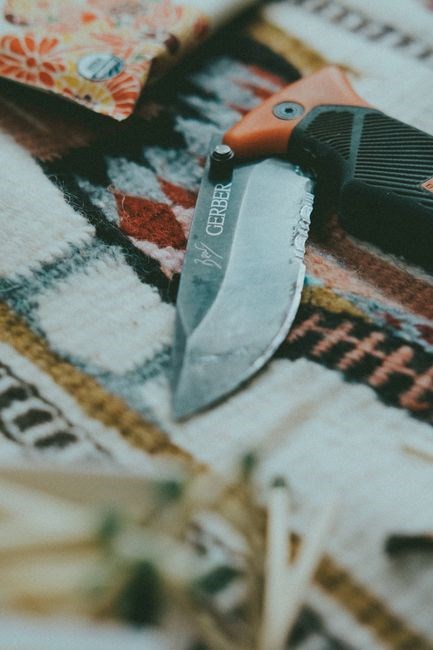
When assembling a survival kit‚ a high‑quality multi‑tool is indispensable. Look for models that combine a sturdy knife blade‚ pliers‚ wire cutters‚ a screwdriver set‚ a bottle opener‚ and a small saw. The blade should be at least 2.5 inches long‚ made from hardened steel‚ and have a serrated edge for cutting rope or fabric.
- Knife Blade: 2.5–3.5 inches‚ stainless steel‚ serrated edge.
- Pliers: Needle‑point and standard for gripping small parts.
- Wire Cutters: Sharp enough to slice through electrical wires.
- Screwdriver Set: Phillips‚ flathead‚ and a small hex set.
For situations that demand a heavier cutting tool‚ include a fixed‑blade knife with a 4‑inch blade‚ a tactical folding knife‚ or a small‚ lightweight machete. Store all cutting instruments in a waterproof pouch or a dedicated compartment of your backpack to prevent accidental cuts. Regular maintenance—cleaning‚ oiling‚ and sharpening—ensures reliability when the moment arrives.
Keep the knife sharp and blade clean. Use a sheath to protect the blade. Carry a spare.
Lighting‚ Power and Communication
Reliable illumination is critical in any emergency. A high‑luminosity LED flashlight with a long‑life battery pack is essential. Keep spare batteries and a small‚ hand‑crank or solar‑powered charger for backup. A power bank rated at 10‚000 mAh or higher can keep a smartphone‚ GPS‚ or two‑way radio running for days.
- Flashlight: LED‚ 500 lumens‚ rechargeable.
- Power bank: 10‚000 mAh‚ dual USB‚ solar input.
- Portable generator: 200 W‚ gasoline or propane.
- Two‑way radio: Handheld‚ VHF/UHF‚ battery backup.
- Signal devices: Whistle‚ mirror‚ flare‚ LED beacon.
Store all electronics in a waterproof‚ insulated case. Use a battery charger with a built‑in timer to avoid overcharging. Keep a spare set of batteries for the flashlight and radio. A small‚ hand‑crank charger can provide a few hours of power in a pinch. Always test equipment before an emergency to ensure it functions properly.
Keep spare batteries and a solar panel for emergency lighting I.
Essential Documents and Cash
Secure all critical paperwork in a waterproof‚ fire‑resistant container. Include government IDs‚ passports‚ birth certificates‚ Social Security cards‚ and any legal documents such as wills‚ trusts‚ or property deeds. Keep copies of insurance policies (home‚ auto‚ health‚ life)‚ medical records‚ and prescriptions. Store bank account information‚ credit card numbers‚ and a list of emergency contacts. Digitally back up all documents on a USB drive and an encrypted cloud account‚ but keep the physical copies in the bag. Keep a backup in a separate safe today!.
Carry cash in small denominations (dimes‚ quarters‚ and one‑dollar bills) for situations where electronic payments fail. Keep at least a week’s worth of daily expenses and a reserve for emergencies. Store the cash in a separate‚ tamper‑proof compartment within the bag. Consider a small‚ portable safe or lockbox for added security.
Include a list of essential items: a multi‑purpose tool‚ a whistle‚ duct tape‚ rope‚ emergency blankets‚ and a poncho. Keep these items in a separate pouch for quick access during evacuation.
Signaling Devices and Emergency Gear
Carry a high‑visibility high‑visibility whistle‚ signal mirror‚ and a flare pack for daytime alerts.
A compact waterproof flashlight with batteries and a headlamp ensures night visibility.
Add a portable high‑capacity radio with NOAA weather alerts and a charger for battery backup.
Include a tool with a fire starter and screwdriver.
Pack a compact high first‑aid kit‚ emergency blankets‚ and duct tape for shelter repairs.
A small durable compact tarp and a tent or tarp kit provide instant cover.
Keep a compact high‑capacity power bank and phone charger.
Store a small emergency cash reserve and a waterproof pouch for documents.
Use rope and paracord for quick fixes.
A compact high‑visibility vest or reflective tape increases daytime safety gear.
A small portable battery‑powered GPS device or a pre‑loaded map ensures navigation.
A reliable durable waterproof watch with a compass helps orient yourself.
A small emergency food supply—energy bars‚ dried fruit‚ and nuts—provides quick calories during a rescue wait.
A small durable waterproof notebook and pen let you record vital information or leave a message.
Stay prepared!!!